Introduction
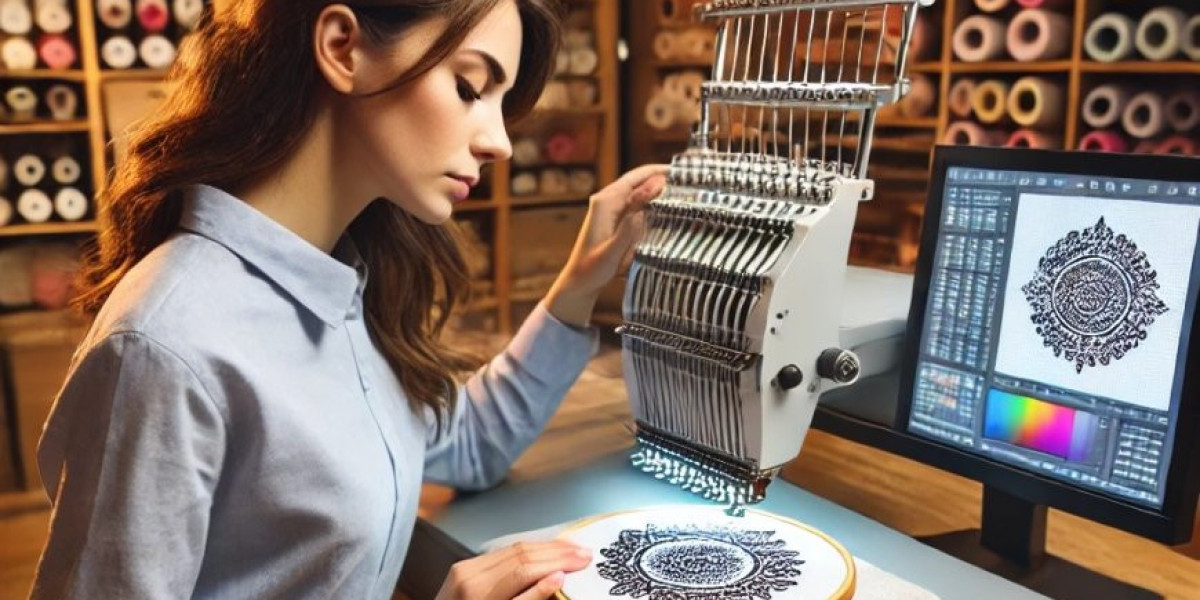
In the high-stakes world of industrial embroidery, your ZSK machine is a performance engine capable of astonishing speed and precision. But like any precision instrument, its output is only as good as the instructions it receives. Feeding it a generic, poorly-optimized file is like putting low-grade fuel in a race car—it might run, but it will sputter, underperform, and risk damage. The true challenge for shop owners and technicians isn't just knowing how to convert designs for ZSK embroidery machines; it's mastering how to do it without sacrificing a single stitch of quality. Lossless conversion preserves the design's integrity while optimizing it for ZSK's unique capabilities. This guide breaks down the professional workflow that ensures your designs stitch out perfectly, maintaining every detail at the high speeds your business depends on.
Why Quality Loss Happens During Conversion
First, understand the enemy. Quality loss during file conversion for industrial machines isn't just about a blurry edge. It manifests in tangible, costly ways:
Stitch Structure Degradation: Automatic converters often flatten complex satin stitches into basic fill stitches, destroying smooth, shiny borders.
Poor Pull Compensation: Generic conversions apply a one-size-fits-all compensation for fabric pull, leading to distorted shapes on your specific substrate (e.g., caps vs. jackets).
Inefficient Stitch Pathing: The sequence of stitches becomes illogical, leading to excessive trims, long jumps, and unnecessary needle penetrations that slow production and weaken the fabric.
Incorrect Density: The stitch density (SPI - Stitches Per Inch) may be scaled incorrectly, causing thread breaks at high speed or, conversely, loose, gappy coverage.
These issues occur when using low-grade auto-conversion software or treating the process as a simple "save as" function. To convert designs for ZSK embroidery machines properly, you must approach it as translation and engineering, not just format changing.
The Foundation: Start with the Highest Quality Source File
You cannot build a flawless ZSK file on a shaky foundation. Your conversion chain is only as strong as its first link.
Demand Vector Artwork: For logos, always insist on the original vector file (.AI, .EPS, .PDF, .SVG). Vectors are mathematically precise, allowing for clean, scalable outlines. Never start with a low-resolution JPG or PNG; the guesswork required will be baked into the final stitches.
Use an Industry-Standard Source Format: If converting from an existing embroidery file, start with the most data-rich format available. A .DST (Tajima) or an .EMB (Wilcom native) file typically retains more editable stitch information than a highly compressed machine-specific format. These are better "source masters" than a simple .PES.
The Professional Method: A Two-Stage Workflow
The key to lossless conversion is separating the digitizing/editing stage from the machine-specific optimization stage. Do not try to do both in one mediocre program.
Stage 1: Expert Editing in Professional Digitizing Software
This stage is about perfecting the design itself, independent of the machine.
Tool of Choice: Wilcom EmbroideryStudio or Hatch Embroidery. These are the industry benchmarks. Their strength lies in superior stitch algorithm control and non-destructive editing.
The Process:
Import your high-quality source (vector or .DST).
Edit at the Stitch Level: Manually adjust underlay, stitch types, and densities for the design's purpose. Ensure satin columns are true satins, not fills.
Clean the File: Remove unnecessary duplicate stitches, zero-length jumps, and redundant color changes.
Save as a "Master" Format: Export or save your perfected design as an .EMB (Wilcom's format) or a high-quality .DST. This file is now your quality-preserved "master."
Stage 2: Precision Optimization in ZSK Native Software
This stage is about translating that perfect master into a language your ZSK understands, optimized for its hardware.
Tool of Choice: ZSK JCK Software (Motif Converter & Stitch Editor). This is non-negotiable. ZSK's own software contains the exact parameters and commands for their machines.
The Process:
Import your cleaned "master" .DST or .EMB file into the ZSK Motif Converter.
Set ZSK-Specific Parameters: This is where you add value without losing quality. Configure:
Machine Commands: Precisely set trim codes, tie-offs, and frame movements native to ZSK.
Speed Optimization: Adjust stitch processing for high-speed execution without altering the visual stitch structure.
Compatibility Checks: The software ensures all functions are translated to ZSK-compatible commands.
Fine-Tune in Stitch Editor: Use this powerful tool to make micro-adjustments to stitch lengths or tensions for your specific needle and thread, if needed.
Export as .ZXY: Save the final, optimized file in ZSK's native .ZXY format. This file is both high-quality and high-performance.
Critical Actions to Preserve Quality
Throughout this workflow, these active choices prevent degradation:
Manual Override of Auto-Functions: Never rely 100% on "auto-convert" buttons. Use them as a first pass, then manually review and correct every element, especially lettering and curves.
Substrate-Specific Adjustments Before Final Export: The pull compensation and density in your "master" file should already be tailored for "heavy twill" or "lightweight mesh." The ZSK software then applies its machine-specific adjustments on top of this solid base.
Preserve Stitch Types: Actively ensure that a satin stitch in the source remains a satin stitch in the .ZXY file. Visually compare the simulated sew-outs in both Wilcom and ZSK software.
The Non-Negotiable Quality Control Step: The Multi-Material Test Stitch
A lossless file must perform flawlessly in the real world. Simulation is not enough.
Stitch Your .ZXY File on Target Fabric: Run the design on the exact material and garment type (e.g., a real cap panel, the specific jacket shell) it was digitized for.
Analyze Under Magnification: Use a magnifying glass or macro lens to check for:
Registration: Colors and layers aligning perfectly.
Stitch Formation: Uniform, tight satin stitches; consistent fill coverage.
Fabric Integrity: No puckering, needle holes, or excessive tension.
Iterate if Necessary: If quality loss is detected, go back to Stage 1 (Wilcom/Hatch) to fix the fundamental stitch issue, then re-optimize in Stage 2 (ZSK JCK). Do not just tweak blindly in the machine software.
Common Pitfalls That Guarantee Quality Loss (And How to Avoid Them)
Pitfall: Using a generic online converter.
Avoidance: Never do this for production work. The cost of ruined materials dwarfs the cost of proper software.
Pitfall: Resizing the design after conversion in the machine's UI.
Avoidance: All sizing must be done in the professional digitizing software (Stage 1) where stitch density and compensation can be recalculated. Resizing a .ZXY file on the machine will distort stitch density.
Pitfall: Assuming one file works for all fabrics.
Avoidance: Your "master" file should be adapted for each major substrate type. You are creating a family of optimized .ZXY files from one master.
Conclusion: Quality as a Competitive Advantage
Learning how to convert designs for ZSK embroidery machines without quality loss is not just a technical task; it's a core business strategy. It protects your investment in premium equipment, maximizes your production efficiency, and delivers a superior product that builds client trust and commands higher prices.
By adopting the two-stage professional workflow—using Wilcom/Hatch for artistic and structural integrity and ZSK JCK for machine-specific optimization—you establish a bulletproof process. This method respects the craft of digitizing while leveraging the engineering of your ZSK. Remember, in industrial embroidery, the file is the plan. A lossless, perfectly optimized .ZXY file is the plan that ensures your machine doesn't just stitch, but performs. Invest the time in this process, and you'll see the difference in every stitch, on every order.